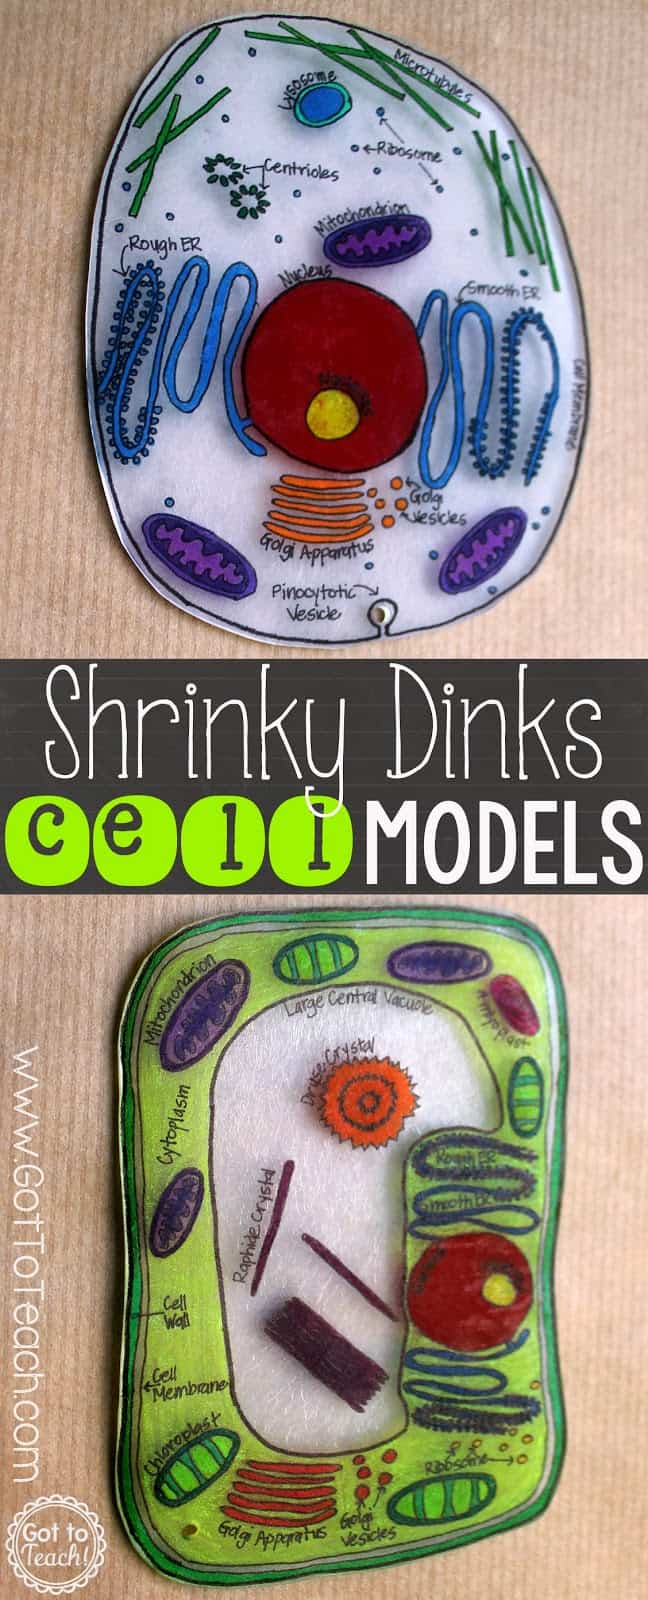
I recently developed a slight obsession with Shrinky Dinks. It was one of my favorite crafting activities as a child, and now as a mom, my daughter is having fun with it too. If you’ve never used it, it’s basically thin sheets of plastic that you can cut and color and then bake in the oven, where it shrinks. For this project, I recommend the frosted type of Shrinky Dinks; this allows your students to use colored pencils on the plastic. You can purchase sheets of Shrinky Dinks online or at your local craft store.
Download these animal and plant cell templates for free here:
Using painter’s tape, secure the Shrinky Dinks sheet on top of the cell template, with the frosted side up. Each cell uses one whole sheet of plastic. Using a fine-tip Sharpie, outline the cell.
Remove the tape and color the cell with colored pencils. Trim around the cell and use a hole punch to make a hole on the edge of the cell; this way students can place it on a ring, chain, etc.
Preheat your oven to 325 degrees. Place the pieces face down on a cookie sheet that is covered in parchment paper or a layer of brown paper bag. Once the pieces are totally flat (about 5-7 minuets), take them out to cool.
This is such a fun way to have students learn the various organelles of plant and animal cells!


