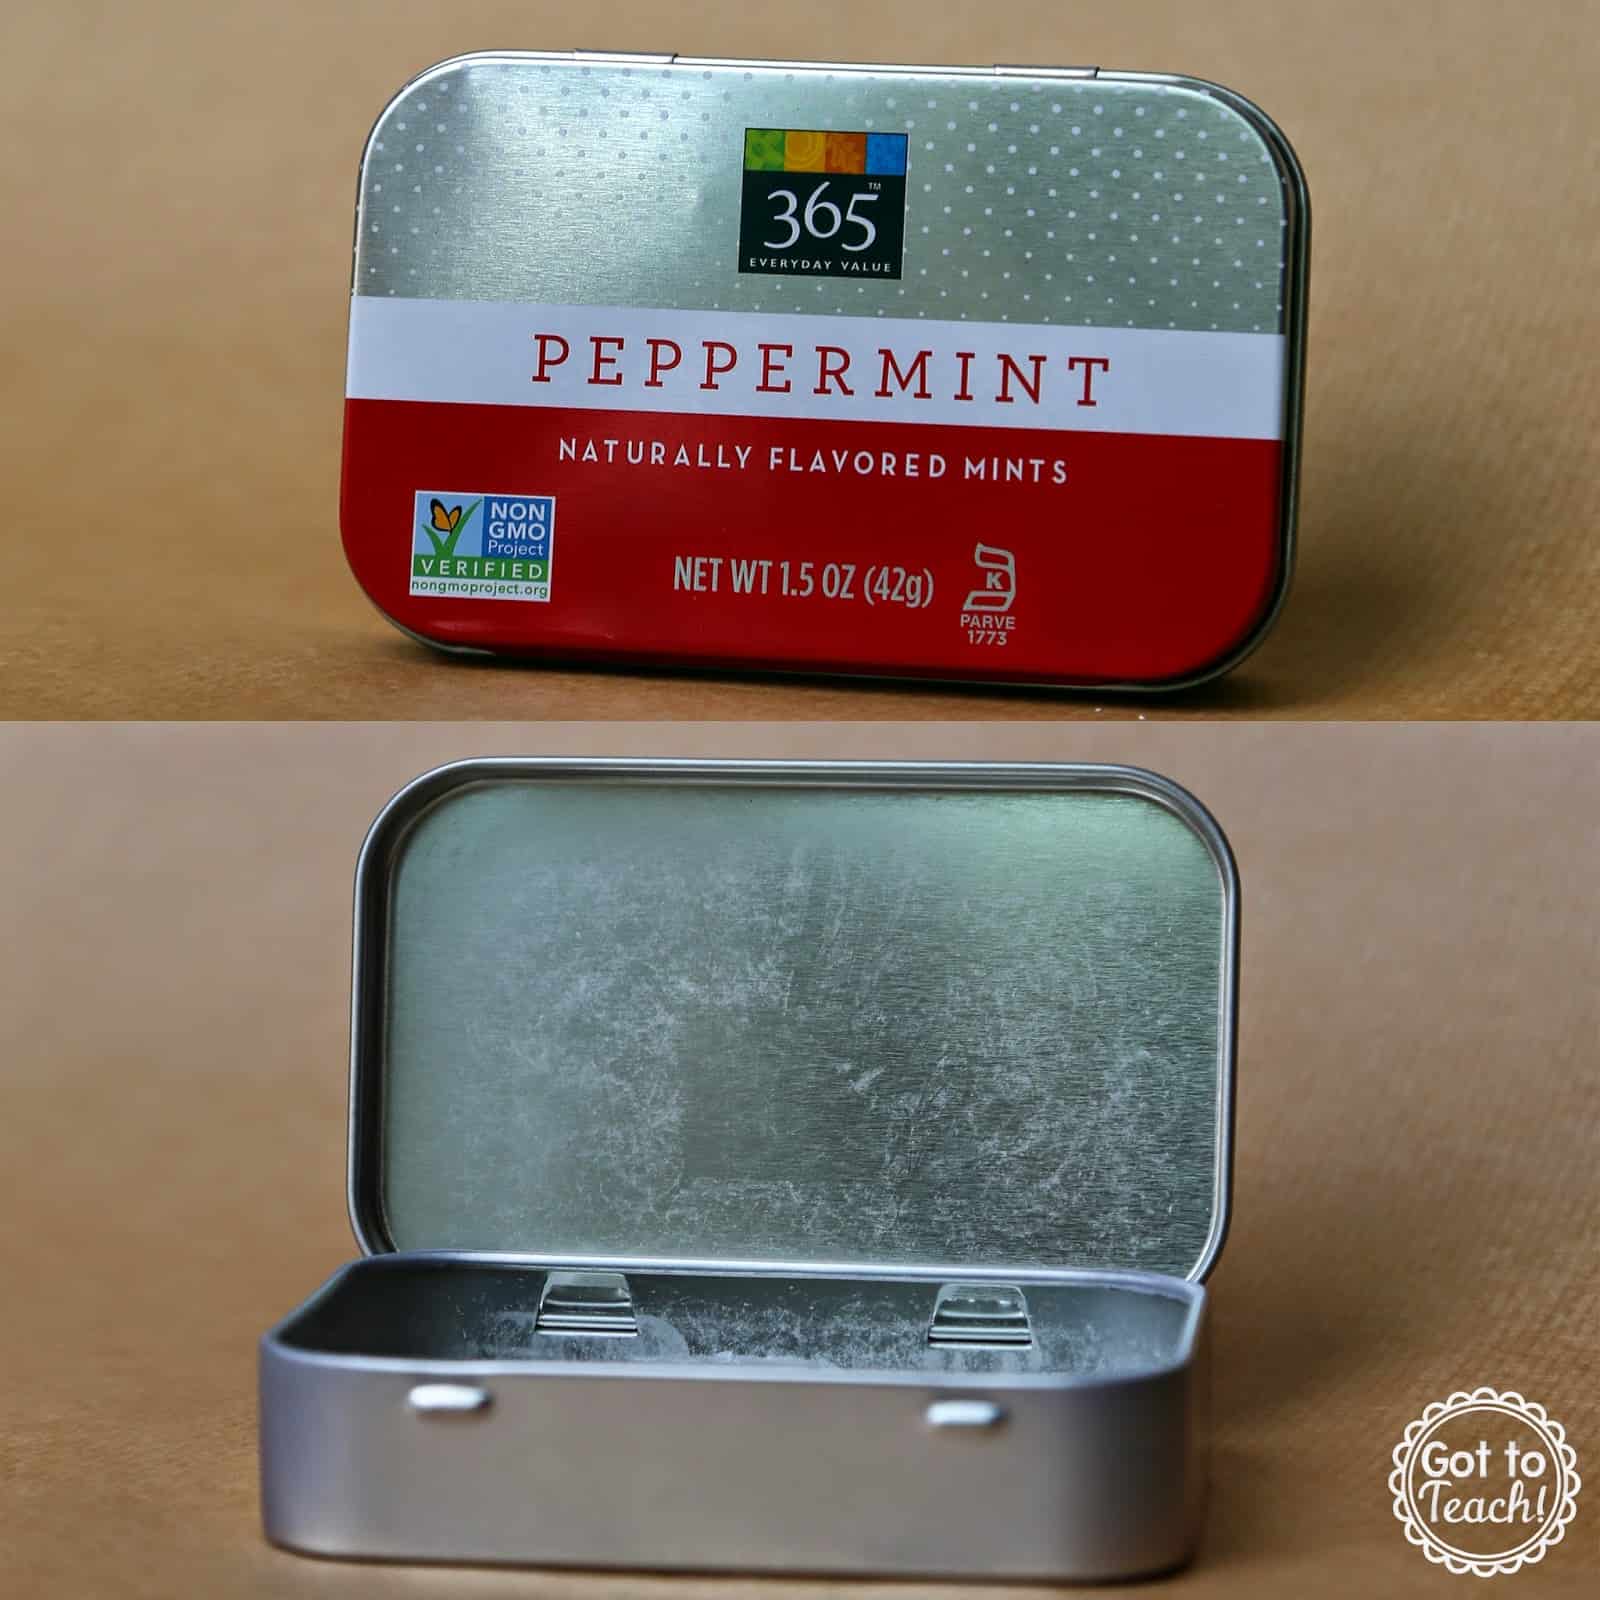
After writing about Mint Tin Book Reports, I was flooded with other ideas on how these little tins could be used in the classroom. One of those ideas was making a cell model!
In addition to the common mint tin, you will also want to have some “fine line” markers for this project. I used mounting tape, to give the cell model a 3D effect. But you could also use craft foam and white school glue to get the same effect. You can download the template I used for the cell model, cover, and insert for free {HERE}.


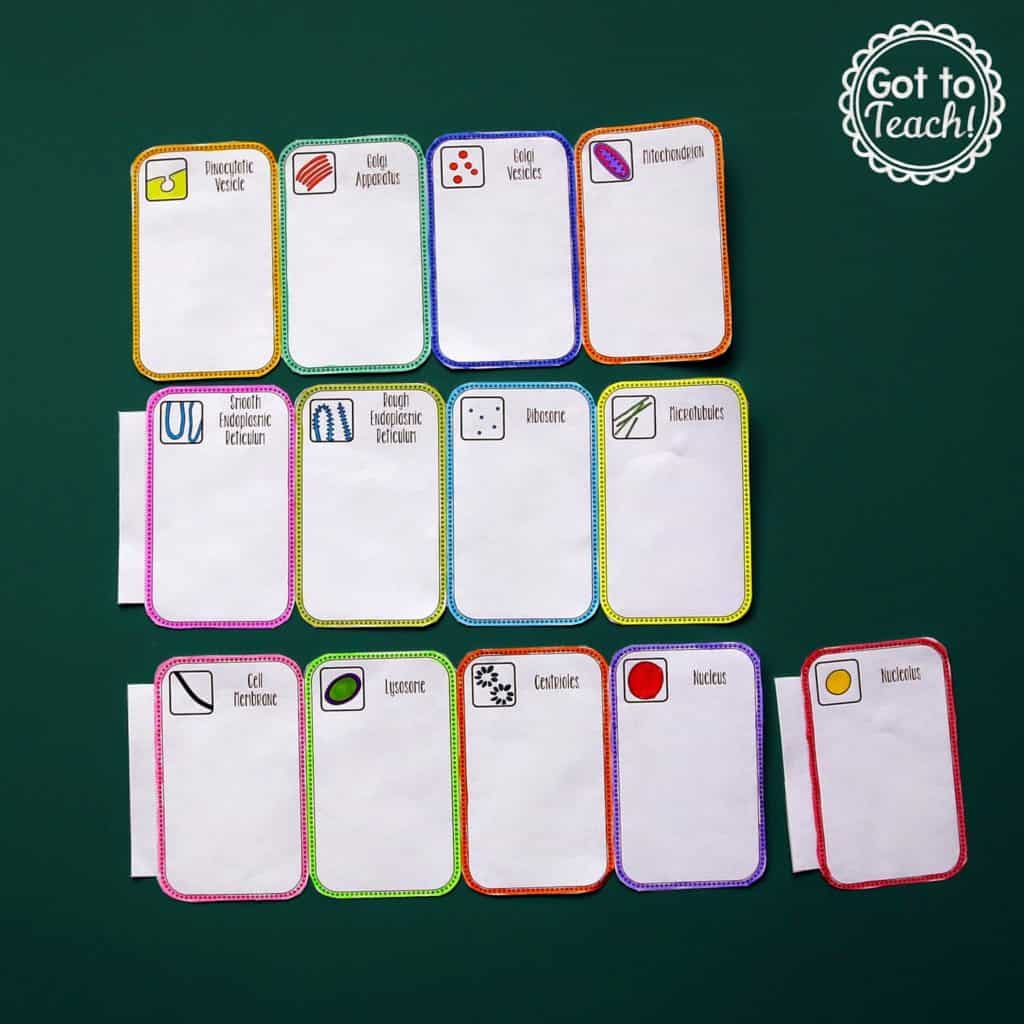
The parts of the cell model should be printed on card stock. Regular copy paper is a bit too flimsy and doesn’t create a clean pop-out effect. Color and cut out the background of the cell and the organelles.
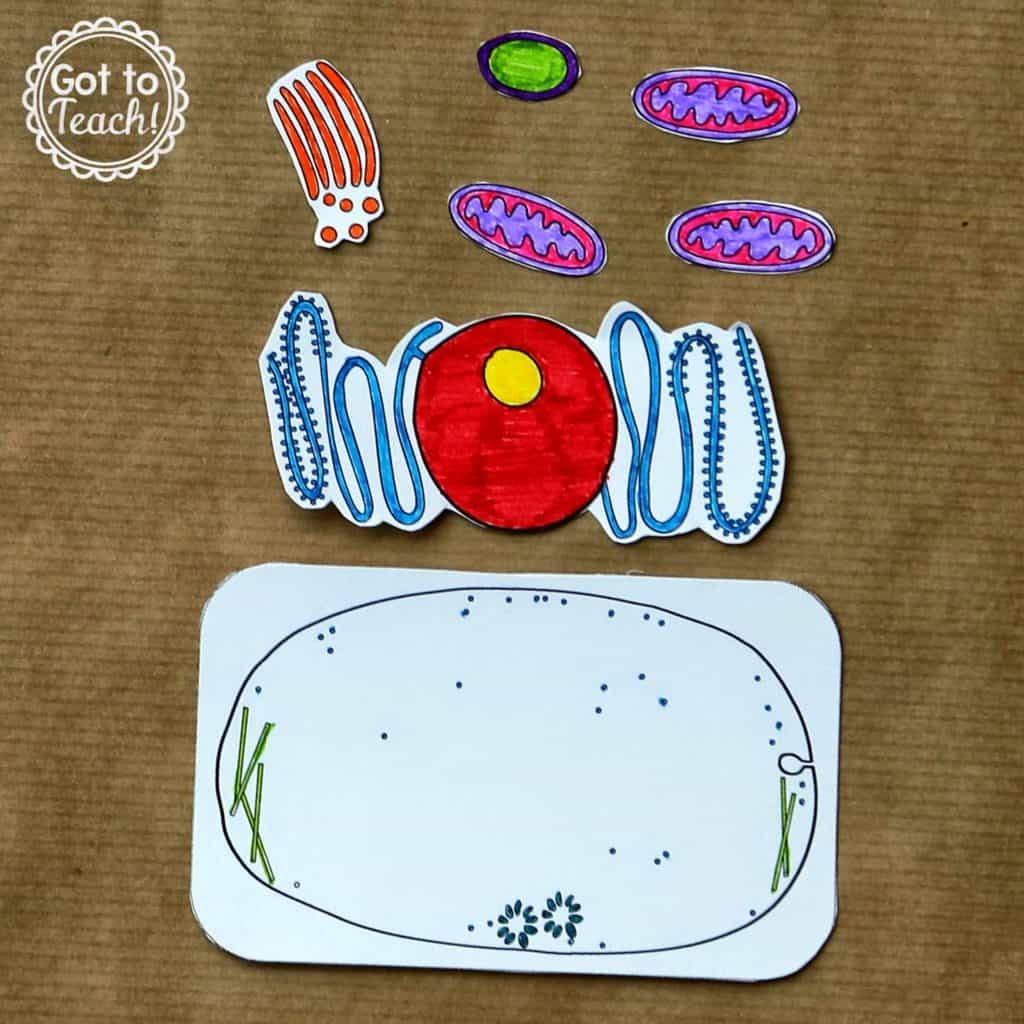
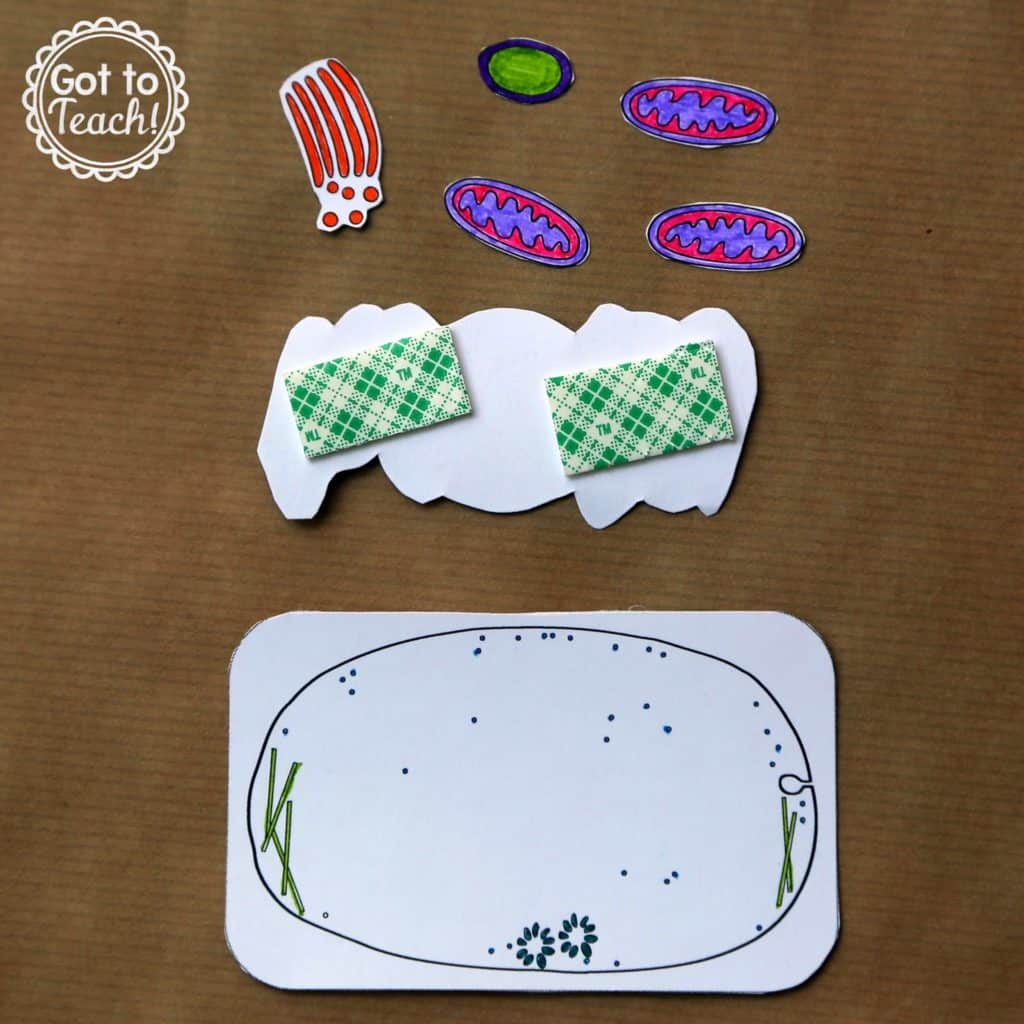

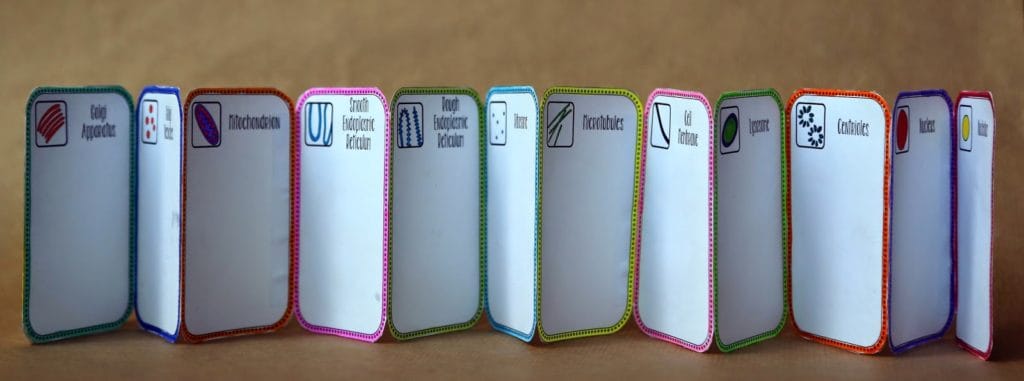
The other organelles will be added using two layers of mounting tape. This is allow them to pop-out a bit further so you can layer them on to the cell.