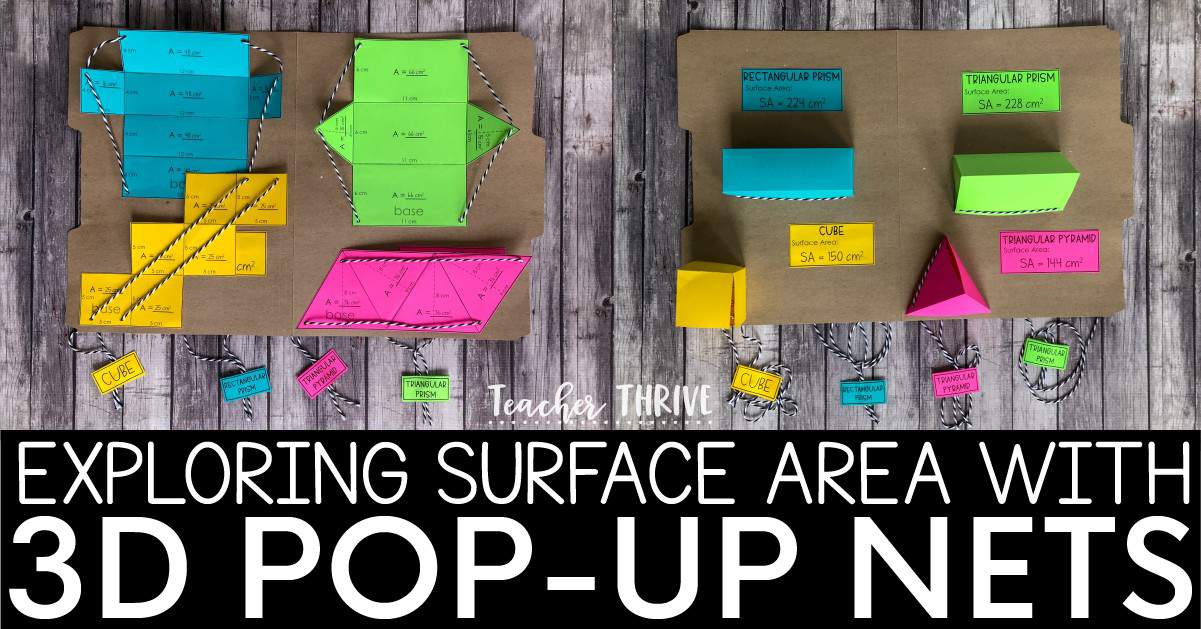
Teaching students how to find the surface area of 3D shapes can be tricky, especially when they are looking at a 2D diagram. Students are much better at visualizing 3D shapes when they have plenty of hands-on experience with them. This 3D Pop-up nets folder is the perfect activity for introducing surface area.
If you would like me to send you the printable nets for this activity, please enter your email address in the form below. If you don’t see it in your inbox within a few minutes, check your spam/promotions folder. To ensure delivery, avoid using a school email address.
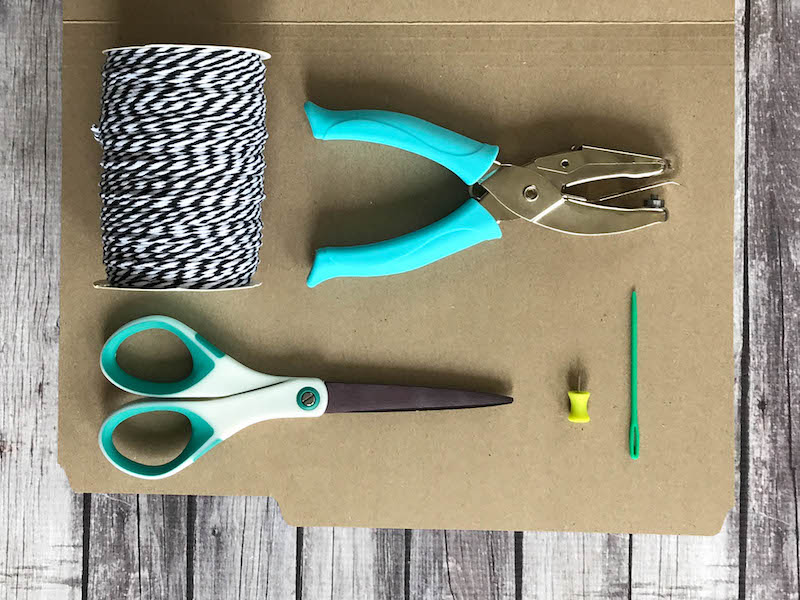
Supplies:
- file folders
- colored construction paper or cardstock
- string or yarn cut in (4) 36-in pieces
- thumbtacks
- 1/8-inch hole punch (optional)
- plastic sewing needles
- scissors
- glue
Step 1:
Copy each of the nets (cube, rectangular prism, triangular prism, and triangular pyramid) on different colors of construction paper or card stock. Fold the nets on the crease lines in both directions (forward and backward). Using the hole punch or thumbtack, make holes where indicated on the nets.
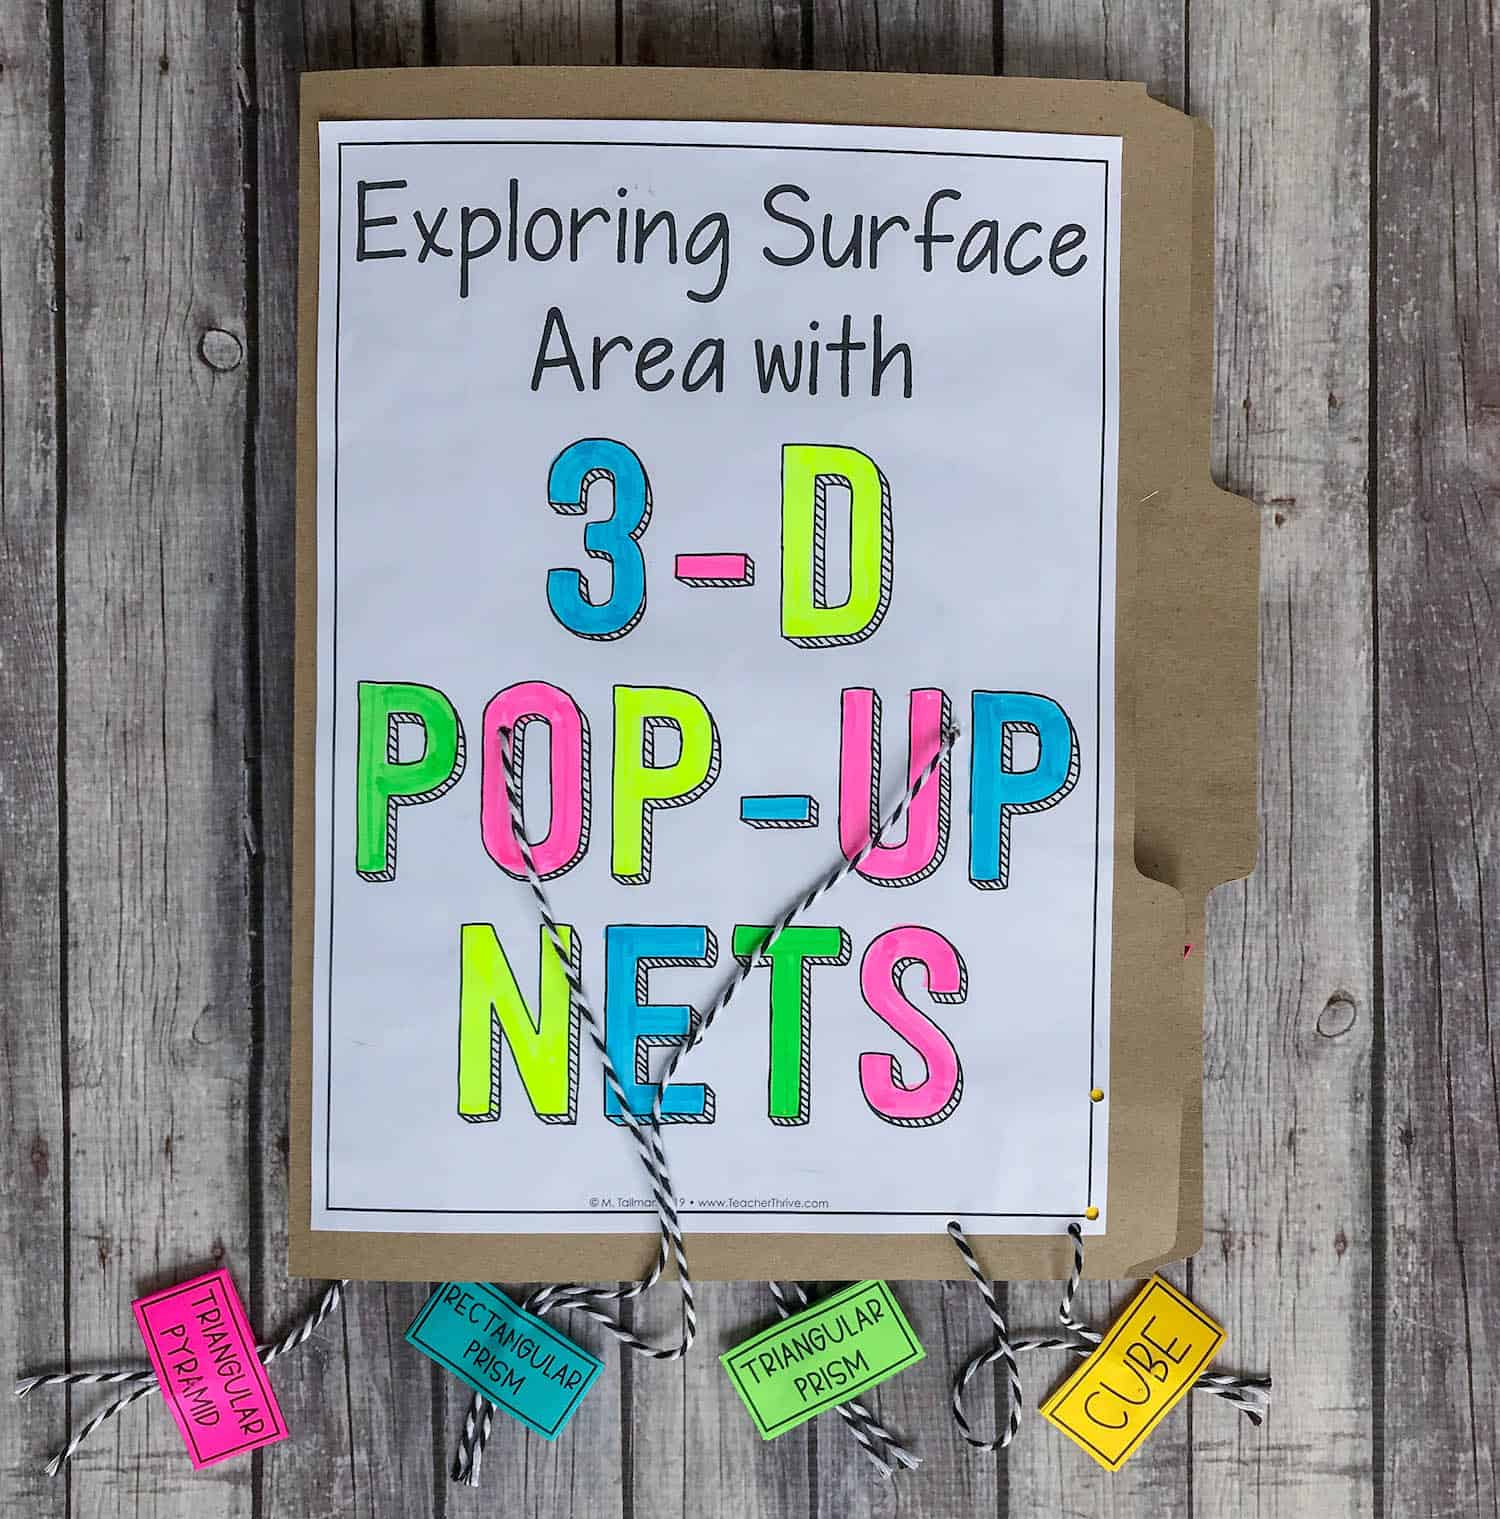
Step 2:
Color and glue the cover to the front of the file folder.
Step 3:
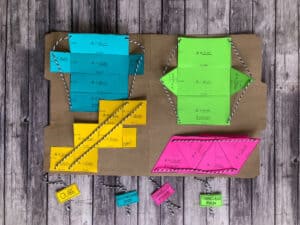
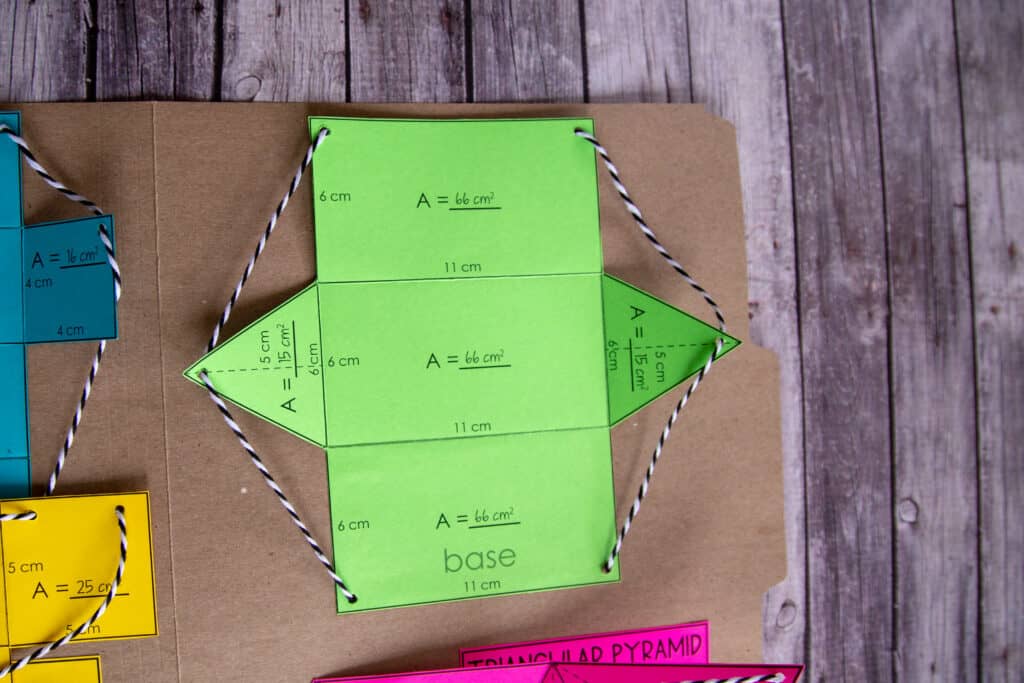
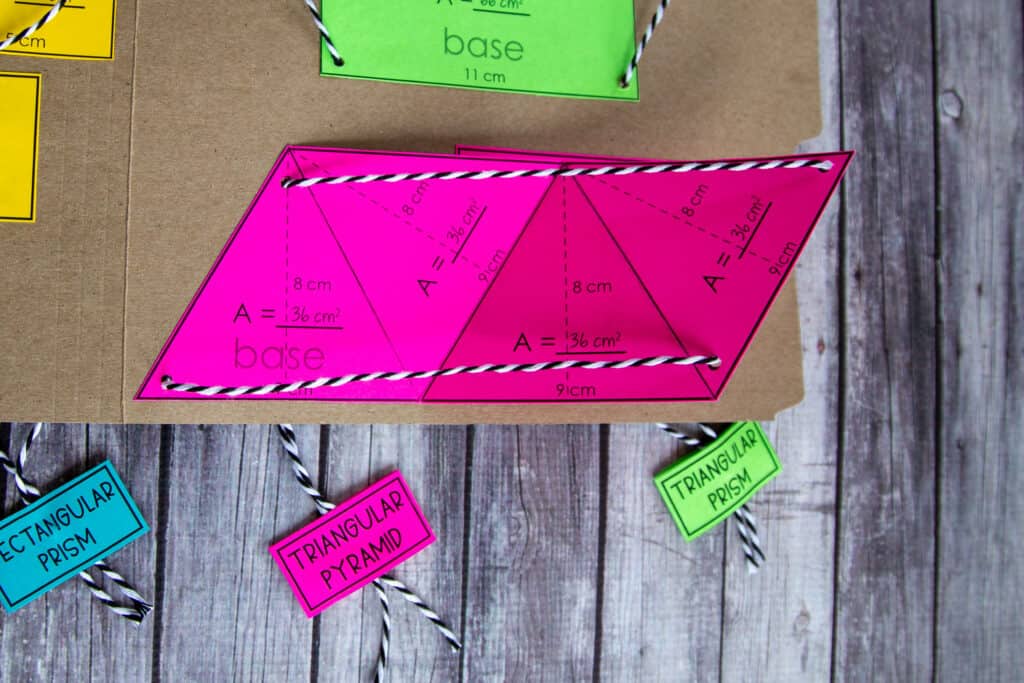
Glue the “base” face of each net down on the inside of the file folder. See the picture below for general placement. Glue down the net labels onto the file folder. Using a thumbtack, punch holes through the folder where indicated on the nets.
Step 4:
Glue down the labels next to each net. See the picture below for general placement.
Step 5:
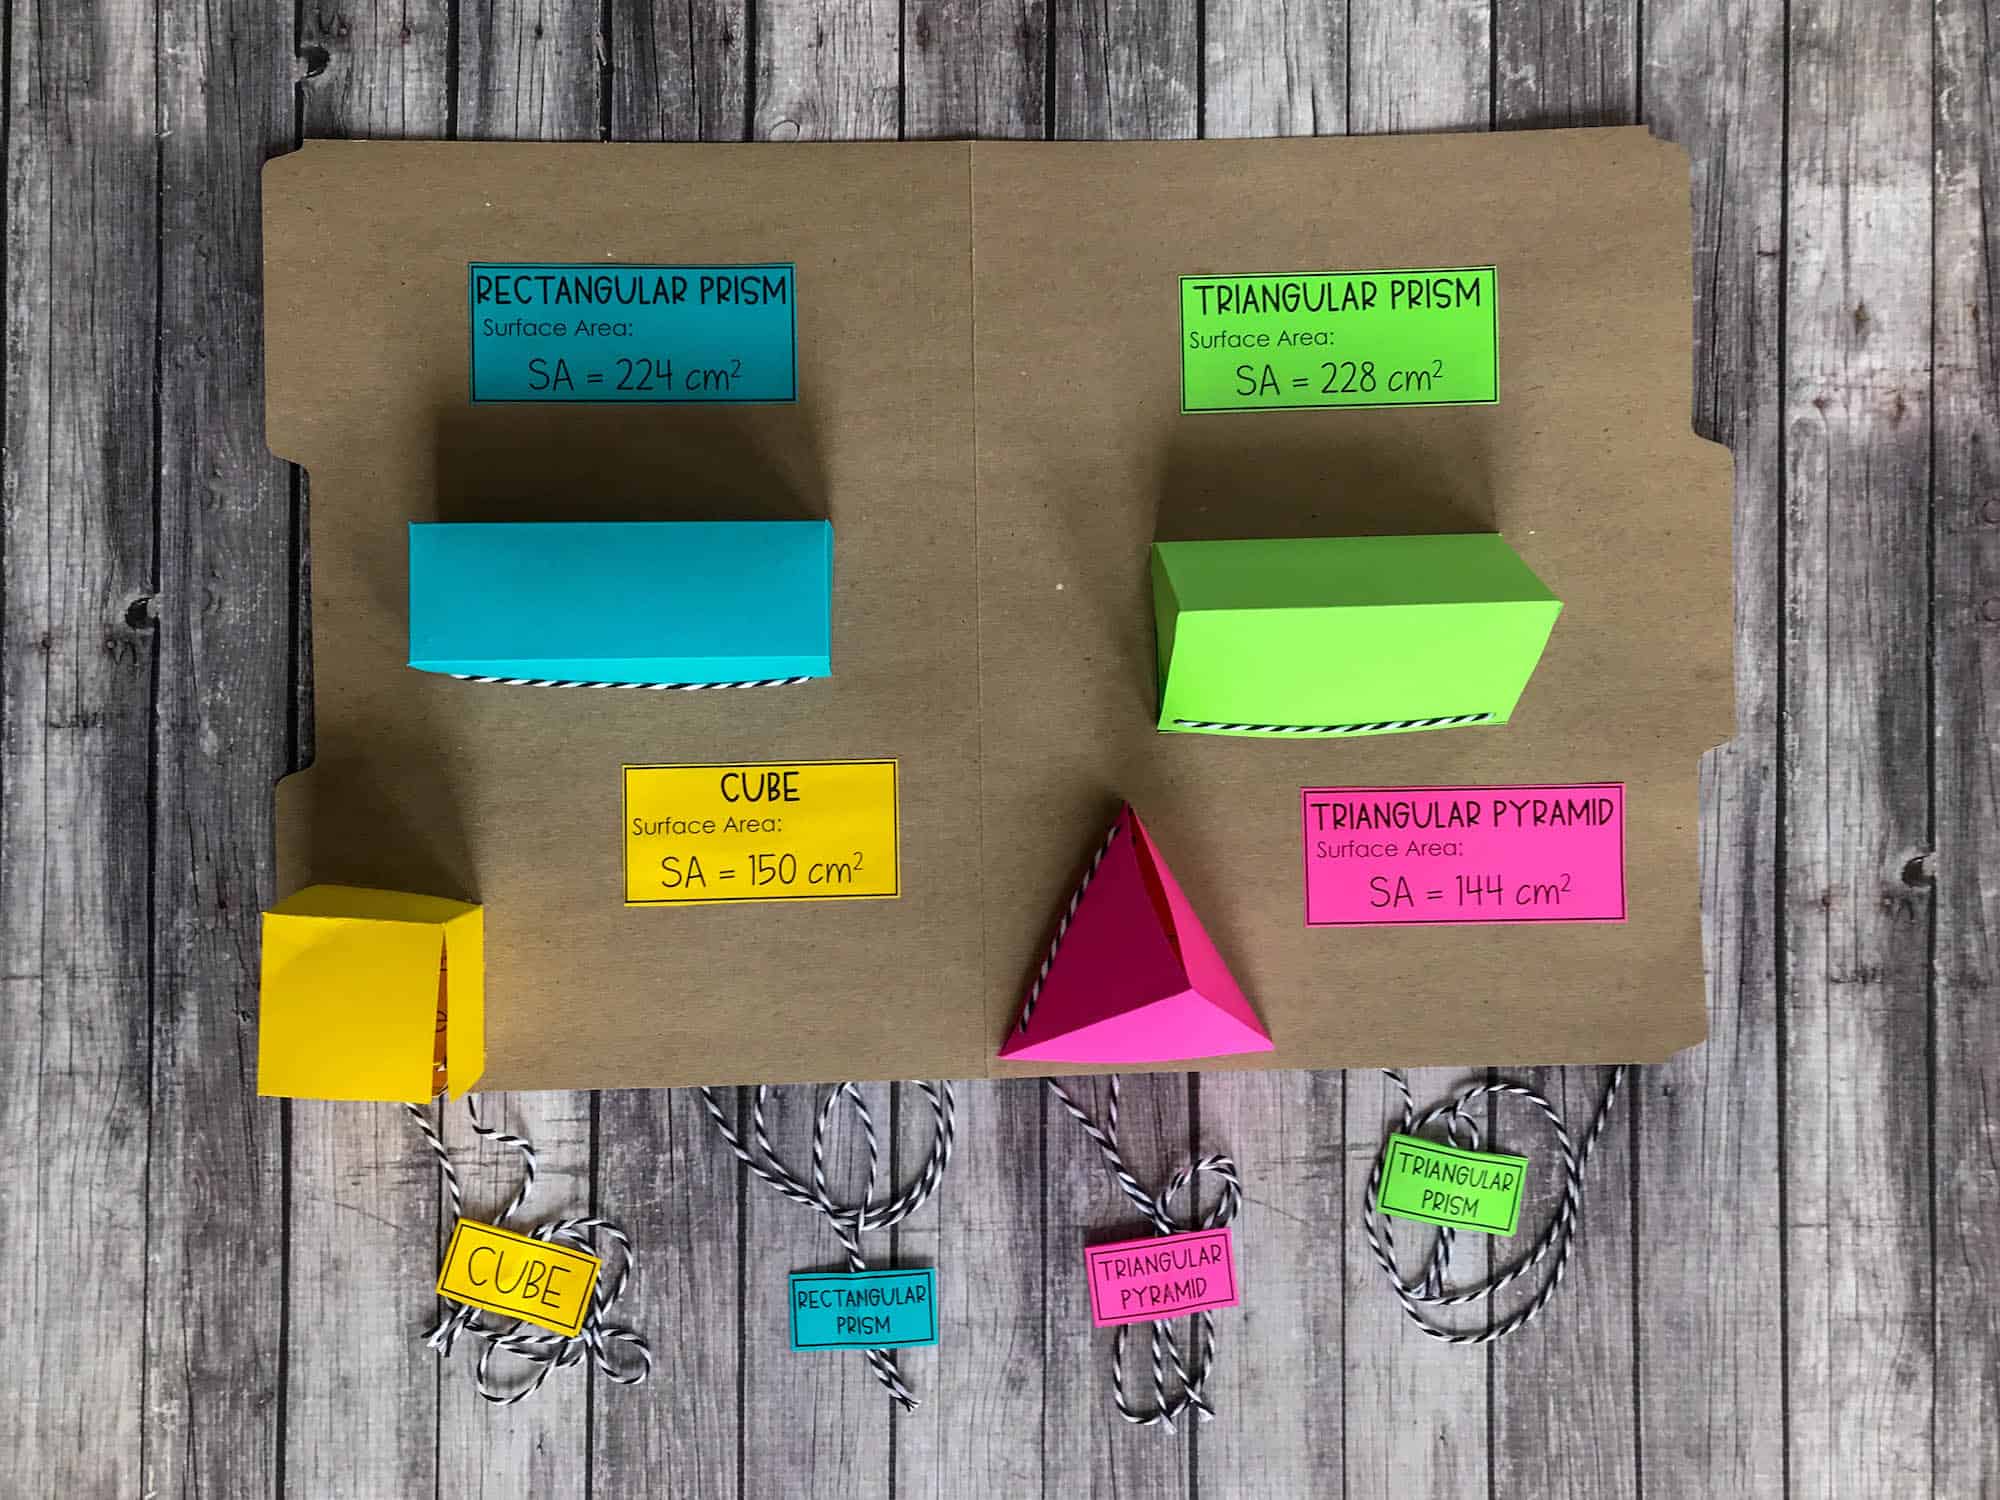
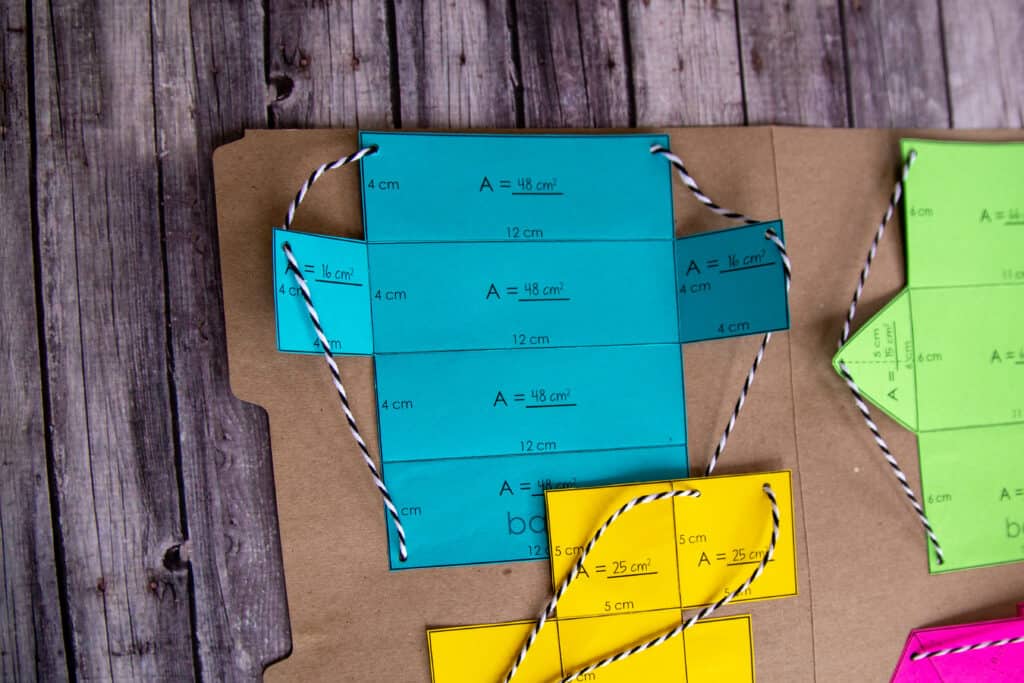
Using the needle and string, “sew” through the folder and nets as shown below. Remember to use the thumbtack or hole punch to make your holes first. All strings will enter and exit the outside of the file folder.
Step 6:
Tie the two strings of each net together. Fold the pull tags over the knots in the strings and affix with glue or a staple.
Step 7:
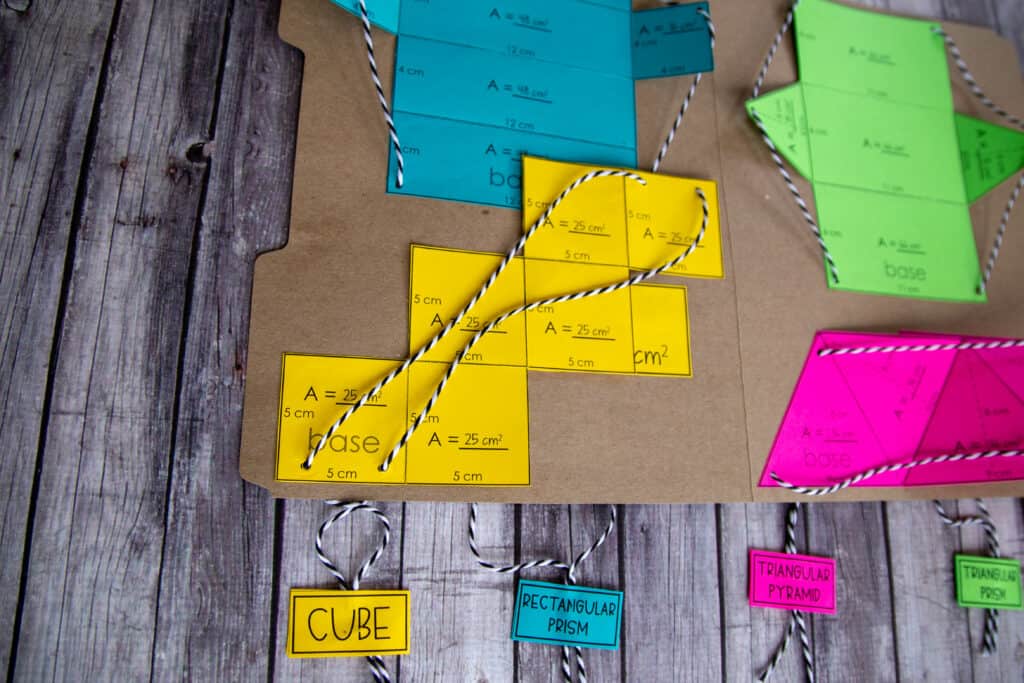
Complete the areas of each face of the nets. Add the areas of each face to find the surface area of each net, and write this down on the labels.
If you get a chance to make these with your students, please tag me on social media @teacherthrive. I would love to see how they turn out.
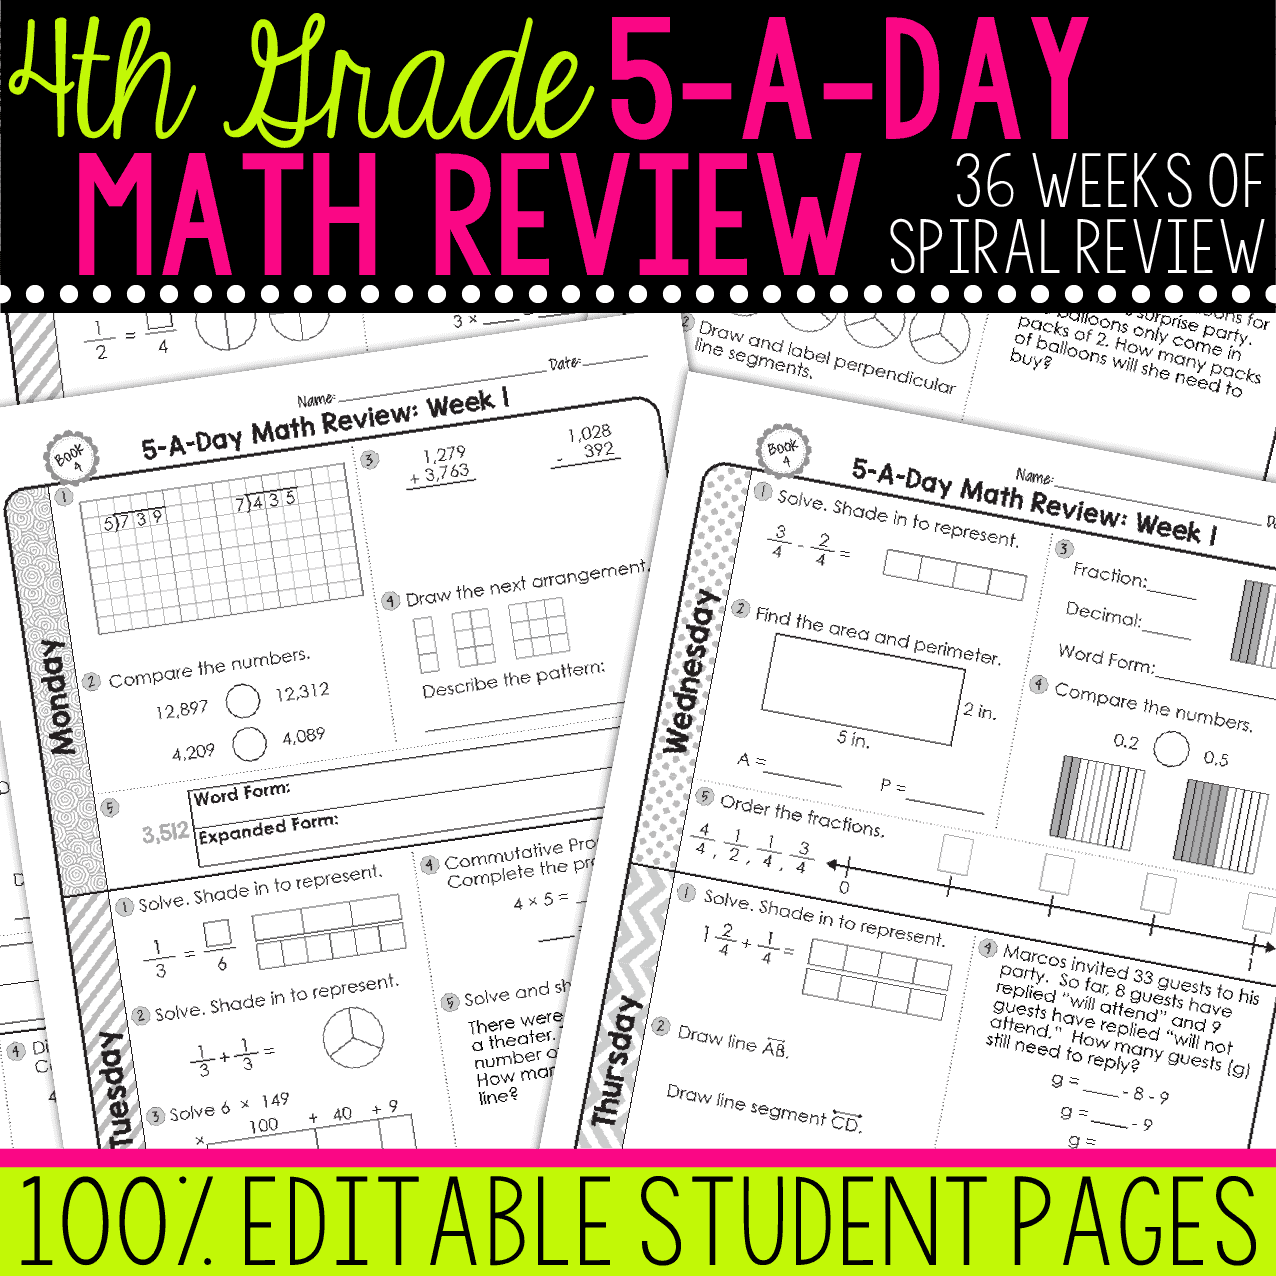
Check out my daily math reviews.